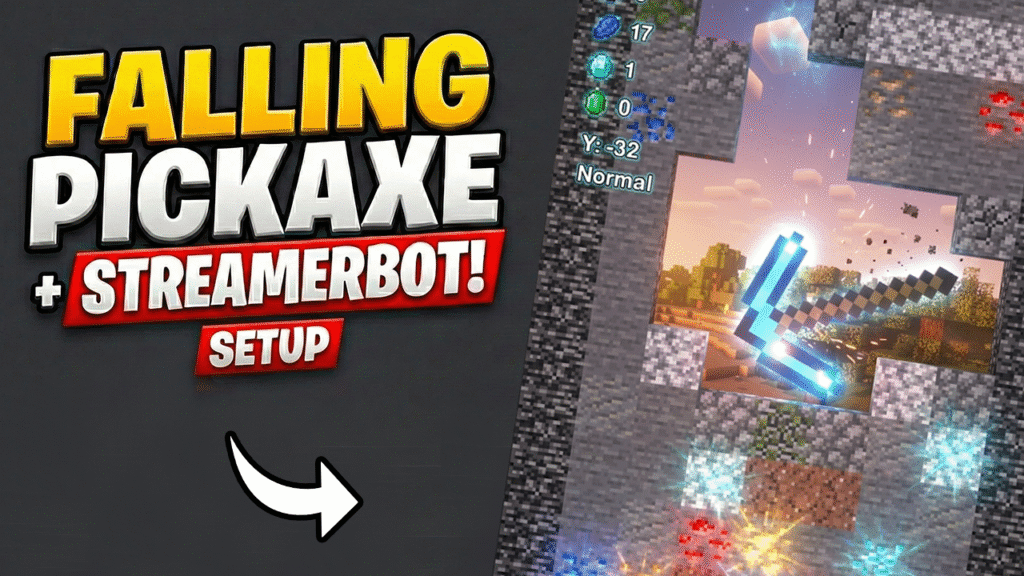
The “Falling Pickaxe” mini-game has taken TikTok and YouTube livestreams by storm. It’s satisfying, addictive, and keeps viewers glued to the screen. But until now, setting it up required complex Google API keys, strict quota limits, and it was locked to YouTube only.
Not anymore.
By integrating this game with Streamer.bot, you can now run the Falling Pickaxe game on Twitch, YouTube, Kick, or Trovo simultaneously. Better yet, we’ve modified the game to work via a simple file-watcher system—meaning zero network errors, zero firewall issues, and instant response times.
Here is your complete, step-by-step guide to setting up the Streamer.bot “Ultimate Edition” of Falling Pickaxe.
Why Use This Version?
- Multi-Platform Support: Works with any platform Streamer.bot supports (Twitch, YouTube, Kick, etc.).
- No API Quotas: You won’t get banned or capped by YouTube’s API limits.
- Nuclear “Combo” Commands: We added custom commands like
!nuke(30 TNTs at once) and auto-reverting pickaxe skins. - 100% Reliability: Uses a local text file to communicate, making it bulletproof against internet lag.
Step 1: Download the Modified Game
We have done the hard coding work for you. This version comes pre-patched with the file listener, sound fixes, and new features.
LINK TO DOWNLOAD MODIFIED GAME PROJECT
- Download the ZIP file provided above.
- Extract the folder to a convenient location (e.g., your Desktop or Downloads folder).
- Open the folder. You will see a file named
commands.txtalready inside. Do not delete this. This is the “bridge” between your chat and the game.
(Note: Make sure you also have Python 3.12 installed on your computer. When installing Python, check the box “Add Python to PATH”.)
Step 2: Connect Your Platforms to Streamer.bot
Before the game can read your chat, Streamer.bot needs to be connected to your streaming accounts.
For YouTube Streamers
- Open Streamer.bot.
- Click the Platforms tab.
- Select YouTube > Accounts.
- Click Sign In with Google.
- Follow the browser prompts to authorize your YouTube account.
- Once connected, go to YouTube > Broadcaster and ensure your account is selected.
For Twitch Streamers
- Click the Platforms tab.
- Select Twitch > Accounts.
- Click Broadcaster Login.
- Authorize Streamer.bot to access your Twitch chat.
(You can connect BOTH if you are multi-streaming!)
Step 3: Configure Game Rules
Let’s tweak the game rules to fit your stream style.
- Open the game folder you extracted.
- Open the
config.jsonfile with Notepad. - Ensure these settings are configured as follows:
"CHAT_CONTROL": true(Crucial: This turns OFF auto-play and listens to your chat)."TNT_AMOUNT_ON_SUPERCHAT": 20(How many TNTs drop for a donation/sub)."PICKAXE_REVERT_DURATION_SECONDS": 30(How long a special pickaxe skin lasts before automatically reverting to wood).
- Save and close the file.
Step 4: Configure Streamer.bot Actions
This is the magic part. We will tell Streamer.bot to write commands into the commands.txt file whenever someone types in chat.
1. Locate your Command File
- Go to your game folder.
- Hold Shift and Right-Click the
commands.txtfile. - Select “Copy as path”. You will need this for the next step.
2. Create the “Game – TNT” Action
- In Streamer.bot, go to the Actions tab.
- Right-click -> Add Action -> Name it
Game - TNT. - In the “Sub-Actions” box, Right-click -> Core -> File IO -> Write to File.
- File: Paste the path you copied earlier (remove the quote marks
"if Windows added them). - Text: Type exactly
TNT:%user% - Important: Check both Append and Write on New Line.
- Click OK.
Now, go to the Commands tab, create a command !tnt, and link it to this Action.
Cheat Sheet: All Game Commands
Repeat the process above for every command you want. Create a separate Action for each one, but always point to the same commands.txt file.
| Trigger / Command | Text to Write in File | What it does |
| !tnt | TNT:%user% | Spawns 1 TNT. |
| !nuke (Combo) | NUKE:%user% | New Feature: Giant Pickaxe + 30 TNTs instantly. |
| !fast | SPEED:%user%:FAST | Speeds up physics. |
| !slow | SPEED:%user%:SLOW | Slows down physics. |
| !big | BIG:%user% | Makes the pickaxe giant. |
| !diamond | PICKAXE:%user%:DIAMOND | Changes skin to Diamond for 30s. |
| !gold | PICKAXE:%user%:GOLD | Changes skin to Gold for 30s. |
| New Subscriber | SUB:%user% | Spawns a massive “Mega TNT”. |
| Super Chat / Cheer | SUPER:%user%:%message% | Spawns a cluster of TNTs. |
(For Events like New Subscriber or Super Chat, go to the Platforms tab in Streamer.bot and assign your Action to the specific Event trigger instead of creating a chat command.)
Step 5: Launch and Test
You are ready to go live!
- Start the Game:
- Windows: Inside the game folder, open terminal by right clicking and selecting the option “Open in Terminal”. Then run this command:
./scripts/run.ps1 - Mac/Linux: Run
scripts/run.sh.
- Windows: Inside the game folder, open terminal by right clicking and selecting the option “Open in Terminal”. Then run this command:
- Wait for Load: The game window will open and sit idle.
- Test Connection:
- In Streamer.bot, go to your
Game - TNTaction. - Click the Test button (top right of the action window).
- Watch the game—a TNT block with the name “TestUser” should appear instantly!
- In Streamer.bot, go to your
Troubleshooting
- Game is playing itself?Check config.json and make sure “CHAT_CONTROL” is set to true (lowercase, no quotes).
- Nothing happens when I test?Double-check the file path in your “Write to File” action. It must point exactly to the commands.txt inside the game folder.
- Sound missing?Ensure your system audio is on. We have fully restored the sound engine in this modified version!
Ready to boost your engagement? Download the files, connect your Streamer.bot, and turn your stream into an interactive arcade today!