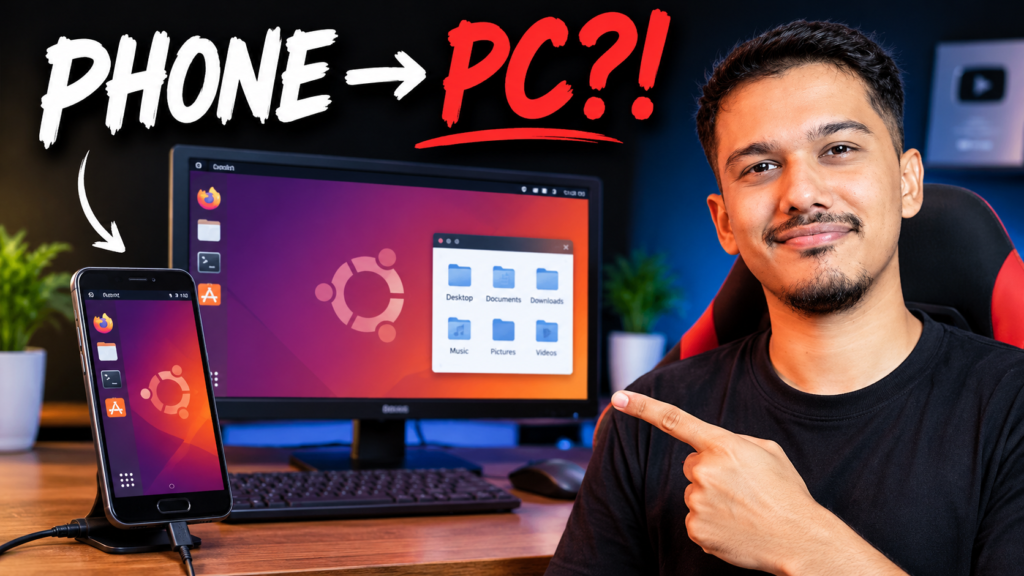
An old Android phone can run a graphical Debian desktop with Termux and a VNC viewer. You’ll install Debian inside Termux, choose a desktop, and connect to it from the same phone. This setup runs alongside Android and doesn’t require rooting the phone.
XFCE is a good starting point on Android 11 and earlier if the phone has enough memory. Try Fluxbox with LXPanel on Android 12 or later. Android’s background process limits can interrupt a Termux session, and the lighter setup uses fewer resources. Termux compatibility notes
Video tutorial
1. Install Termux and set up Debian
- Install Termux from F-Droid or GitHub. These are the builds used for this guide. The Google Play build is maintained separately and has different limitations.
- Install RealVNC Viewer on the same phone. RealVNC’s Android setup instructions
Run in Termux. Copy the command block below. These commands use PRoot-Distro 5 or later. The image tag pins the install to Debian 13, and the explicit name keeps the login command consistent. PRoot-Distro documentation
termux-wake-lock
pkg update && pkg upgrade -y
pkg install proot-distro -y
proot-distro install --name debian debian:trixie
proot-distro login debian
Run the following sections inside Debian. The shell runs as root inside the PRoot environment, so the Debian package commands below run directly.
2. Install TigerVNC and set a password
apt update && apt upgrade -y
apt install tigervnc-standalone-server tigervnc-tools dbus-x11 -y
mkdir -p ~/.config/tigervnc
tigervncpasswd
Choose a unique password of six to eight characters. The terminal hides it as you type. When asked whether to set a view-only password, enter n. TigerVNC password manual
3. Choose a desktop
Run one of the following blocks. Each writes the startup script TigerVNC uses to launch your desktop.
Option A — XFCE
Start here on Android 11 or earlier if you want a full desktop with an application menu, panel, and file manager.
apt install xfce4 xfce4-goodies -y
cat > ~/.config/tigervnc/xstartup <<'EOF'
#!/bin/sh
exec dbus-run-session -- startxfce4
EOF
chmod +x ~/.config/tigervnc/xstartup
Option B — Fluxbox and LXPanel
Start here on Android 12 or later, or on a phone with limited memory. Fluxbox manages your windows and LXPanel adds a taskbar and application menu.
apt install fluxbox lxpanel -y
cat > ~/.config/tigervnc/xstartup <<'EOF'
#!/bin/sh
exec dbus-run-session -- sh -c 'lxpanel & exec startfluxbox'
EOF
chmod +x ~/.config/tigervnc/xstartup
4. Start the desktop and connect
Start TigerVNC from your Debian shell. The server listens only on the phone’s loopback interface, and display 1 uses TCP port 5901. You can lower the resolution if the desktop feels slow or the controls are too small. Debian’s TigerVNC manual
export USER=root
tigervncserver :1 -localhost yes -geometry 1280x720 -depth 24- Keep the Debian session open and switch to RealVNC Viewer.
- Add a connection with the address
127.0.0.1::5901. The double colon tells RealVNC to use the explicit TCP port. RealVNC address syntax - Name the connection
Linux PC, connect, and enter the TigerVNC password.
If you see a black screen or the session closes, run tigervncserver -list in Debian and check the session log under ~/.config/tigervnc/. If Android repeatedly ends your XFCE session, stop display 1 and try the Fluxbox startup script.
5. Install Firefox and Visual Studio Code
Firefox ESR
apt install firefox-esr -yVisual Studio Code
On an ARM phone, run dpkg --print-architecture inside Debian. Microsoft’s repository provides packages for arm64 and armhf. Run the following in Debian to install the signed package. Microsoft’s Linux installation guide
apt install ca-certificates wget gpg -y
wget -O /tmp/microsoft.asc https://packages.microsoft.com/keys/microsoft.asc
gpg --dearmor < /tmp/microsoft.asc > /tmp/microsoft.gpg
install -D -m 644 /tmp/microsoft.gpg /etc/apt/keyrings/packages.microsoft.gpg
printf '%s\n' 'deb [arch=arm64,armhf signed-by=/etc/apt/keyrings/packages.microsoft.gpg] https://packages.microsoft.com/repos/code stable main' > /etc/apt/sources.list.d/vscode.list
rm -f /tmp/microsoft.asc /tmp/microsoft.gpg
apt update && apt install code -y
Create a VS Code menu shortcut
If the default shortcut refuses to start because Debian is running as root inside PRoot, create the launcher below. It gives VS Code a separate profile and uses --no-sandbox, which disables Chromium’s sandbox. Use this launcher only with projects and extensions you trust. VS Code root launch flags
mkdir -p ~/.local/share/applications
cat > ~/.local/share/applications/code.desktop <<'EOF'
[Desktop Entry]
Name=Visual Studio Code
GenericName=Text Editor
Exec=/usr/share/code/code --no-sandbox --user-data-dir=/root/.vscode-root %F
Icon=code
Type=Application
StartupNotify=false
Categories=TextEditor;Development;IDE;
EOF
If the menu doesn’t pick up the shortcut, stop and start TigerVNC, then reconnect.
Shut down and start again later
Disconnect in RealVNC Viewer. Back in Debian, stop the VNC server and exit. Once you’re back at the Termux prompt, release the wake lock.
Run in Debian
tigervncserver -kill :1
exit
Then run at the Termux prompt
termux-wake-unlockTo use the desktop again, run termux-wake-lock and proot-distro login debian in Termux, then repeat the TigerVNC start command from step 4.